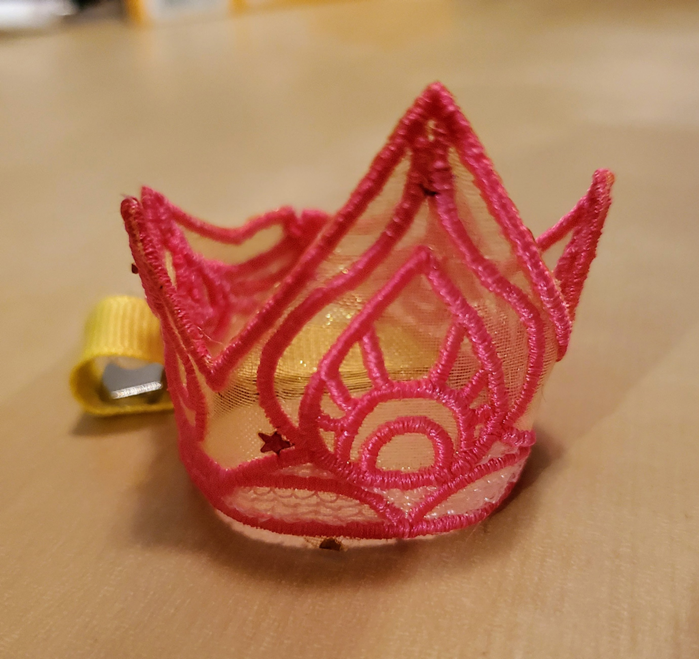
Supplies:
- High-quality polyester embroidery thread.
- Thick water-soluble stabilizer (such as Sulky Ultra Solvy)
- Organza fabric
- Candle, soldering iron, or other heat sealing tool for edge sealing (not a heat gun!)
- Alligator clips (1.5″ or 3.2 cm)
- Hot glue gun
- 3/8″ gross grain ribbon (roughly 4″ per crown)
- Sewing thread in a coordination color
- Hand sewing needle
- Thimble
Step 1: Hooping
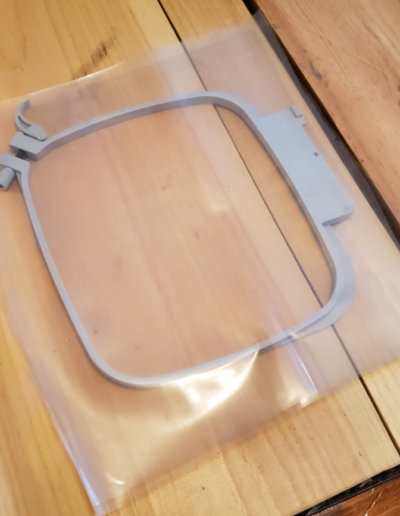
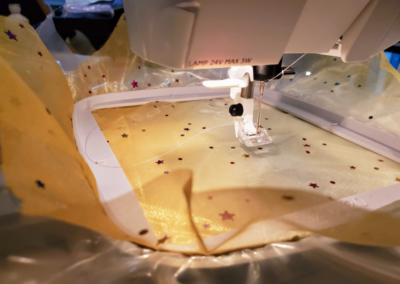
Hoop two layers of water-soluble stabilizer and one layer of organza fabric. The organza sits on top of the stabilizer. If the organza is patterned, the pattern should be facing up.
Step 2: Embroidery Time!
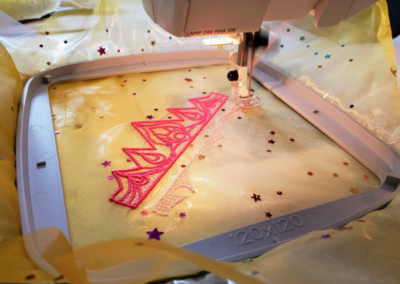
In accordance with your machine manufacturer’s directions, load the design onto your machine and slide the hoop on. Stitch the design out by following the included color chart. The color chart provided is simply a suggestion: feel free to play with your color choices!
Step 3: Cut and Trim!
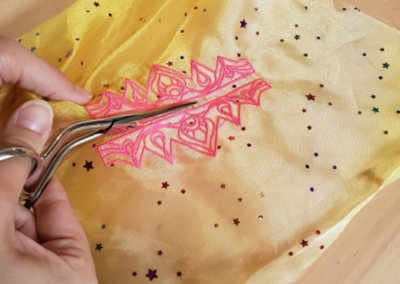
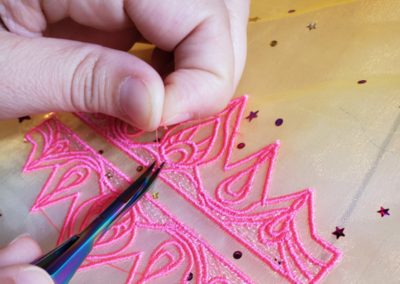
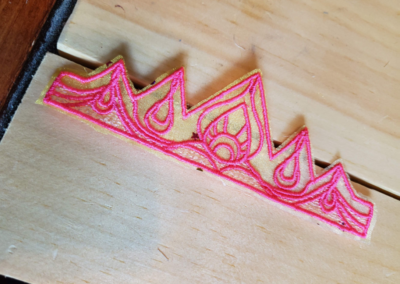
Once your design has finished printing, take the organza and stabilizer out of the hoop and gently tear away the excess stabilizer. If you are stitching out multiple crowns at a time, cut them apart first, then take small snips or scissors to trim jump stitches.
Trim close to the edge of the design without cutting the thread. It’s okay if it looks a little fuzzy at this point!
Step 4: Rinse Time!
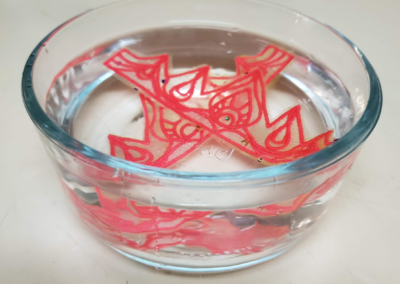
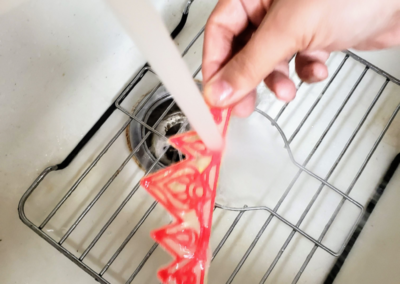
Wash your design in warm water. You want to leave a little stabilizer in the crown so you can either rinse the crown until you feel like most of the stabilizer is gone, or you can soak it in a small bowl of warm water and then give it a quick rinse. You don’t want to use a large bowl as this will wash out too much stabilizer. Check instructions on your brand of stabilizer as directions may vary. Allow crowns to dry by patting excess water off with paper towels, and then air-drying flat on a towel/paper towel.
Step 5: Heat Treat the Edges!
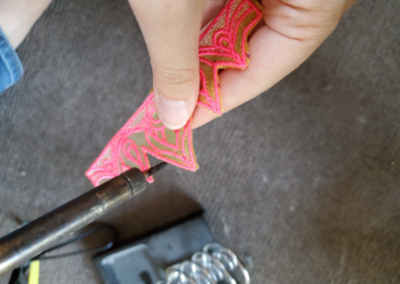
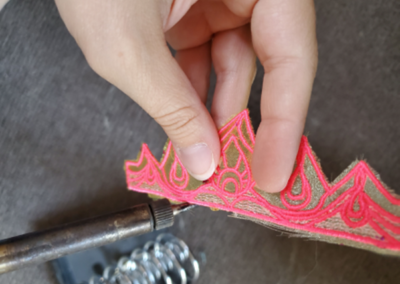
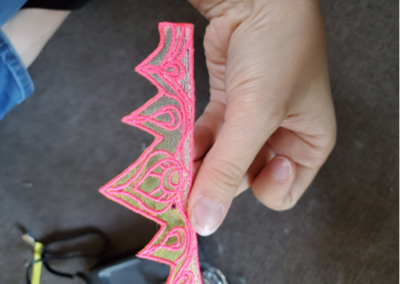
Prep either a candle or soldering iron/heat tool. This is best done outside in or in a highly ventilated area. Use your heat tool or candle to melt the edges of the crown, outside of the satin stitching. Please be aware of your surroundings, and be careful not to burn your fingers or anything around you.
Step 6: Alligator Clip Time!
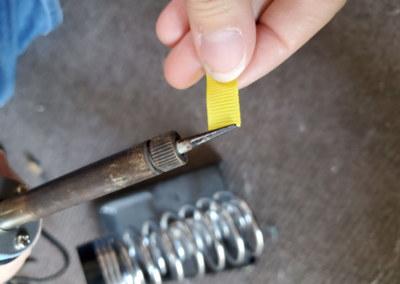
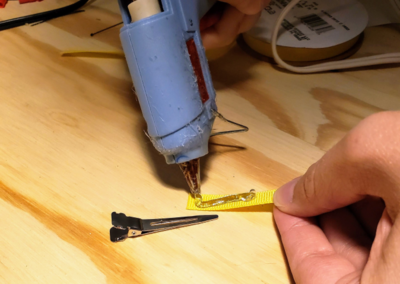
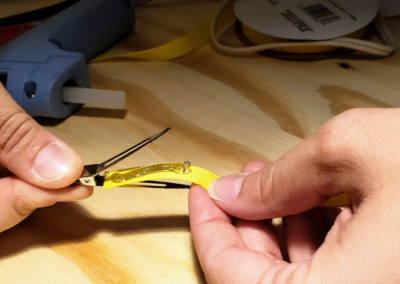
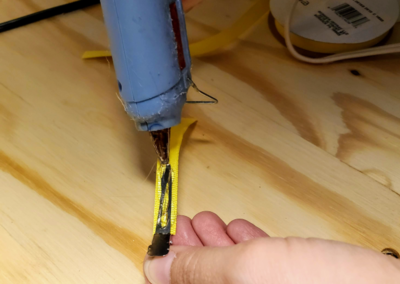
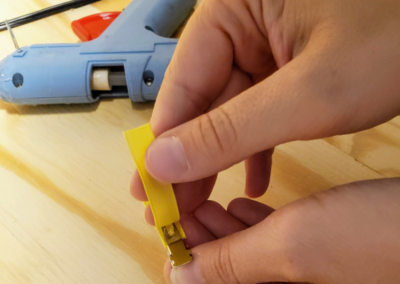
Now it’s time to prep your alligator clip. Cut grosgrain ribbon into roughly 4 in pieces (size will depend on the size of your alligator clips). Either melt or fray check the edges of the ribbon before moving to hot glue.
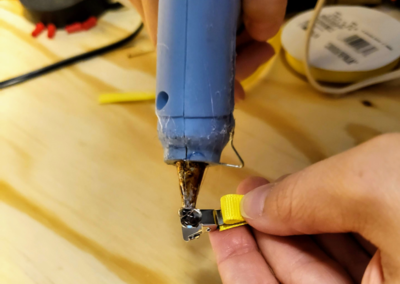
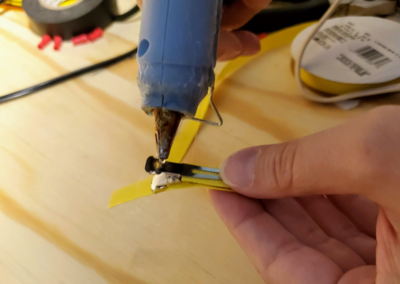
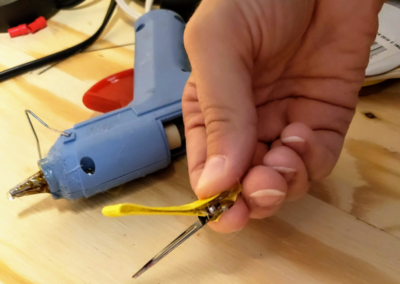
Hot glue ribbon to the alligator clip. Try to keep the hot glue from getting on the very edges of the ribbon as you will need to sew on them later.
Step 7: Close the Crown!
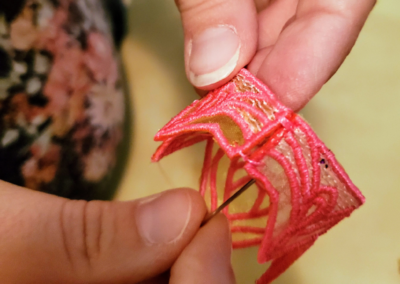
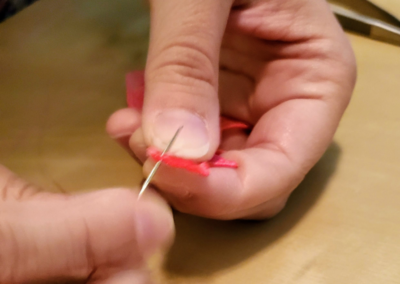
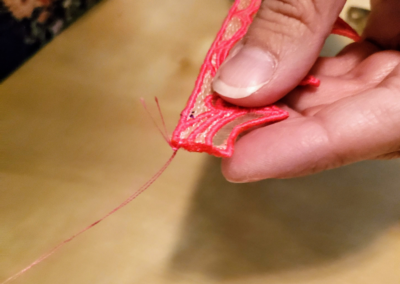
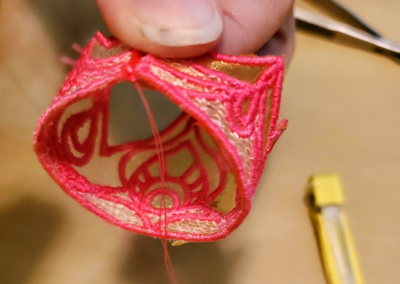
Take your crown pieces and hand stitch the back edges together using coordinating sewing thread. Knot thread on one side, loop the thread around both edges at least 3 times and then tie the thread off. Do this once on top of the back edge and once on the bottom.
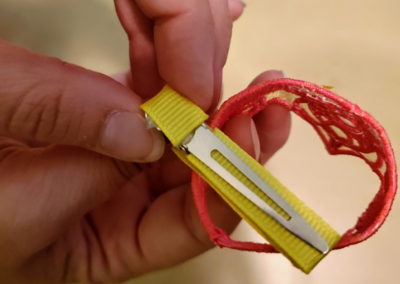
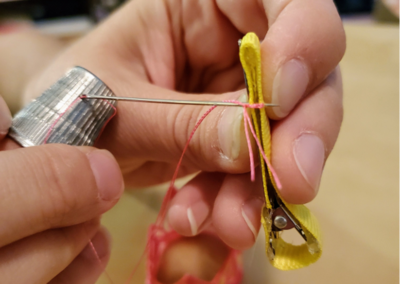
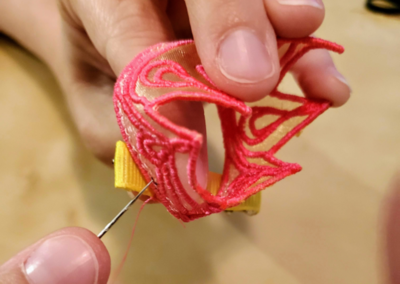
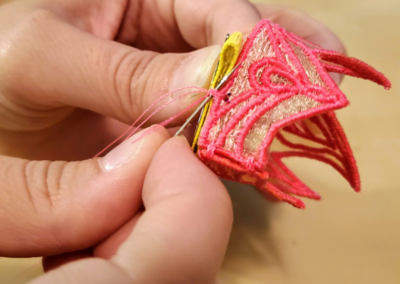
Now that your crown is a circle, place it on top of your alligator clip to center it. You may need your thimble for this step. Stitch crown to ribbon at four different points, doing your best to try to keep the shape of the crown.
You may need your thimble for this step. Stitch crown to ribbon at four different points, doing your best to try to keep the shape of the crown. Remember to tie off each point with a double knot.
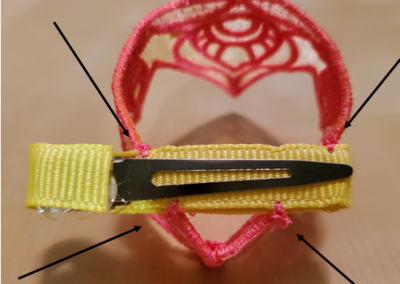
The bottom of your crown should look like this, and you should see the thread at 4 different points.
Tadaa! Your tiny crown is finished!

